Tuesday, December 2, 2014
Anatomy of a Shot
I was just in Singapore for a meeting, and as always, I bring my tripod and camera with me, because I find that there is always something interesting to photograph (grass is greener on the other side?)
Anyway, I was a little short on time, and didn't get to shoot anything, but when I got to the airport about to come back - I told myself that I HAD to shoot something, so that I didn't feel like I wasted the effort of lugging my camera stuff for nothing.
As usual, I'm drawn to the stark architecture of T3. 2 of the lift had the top covered by advertisements (urgh!), but managed to find one "naked", where I camped for 45min after checking in, and before having to board.
And just because it's been ages since I blogged, I thought I take a walk through the process of this shot, from beginning right up to the post processing.
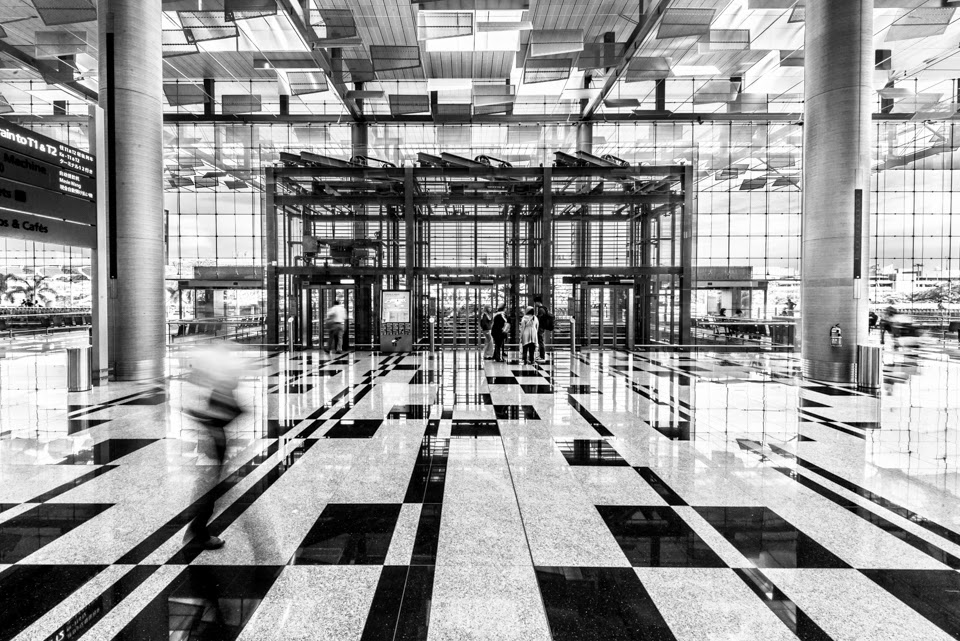
First thing is to pick the scene, work on the composition of the frame. I wanted this lift to be the main focus of the shot, I liked the bare, industrial look of it, which fits in with the roofing, and the lines on the floor kinda lead to it. I took maybe 20-30 shots, trying out without filters, and with filters, various exposure times.
In the end, I selected this - coz I thought pictures without people looked too sterile and cold. The slow shutter speed gave a sense of movement - and the guy walking across, without blocking the lift was what I liked. A trick is that since I was camped there, all set up with a tripod and remote trigger, people will ignore you - if you pretend to look elsewhere. :)
Anyway, this is the RAW file.
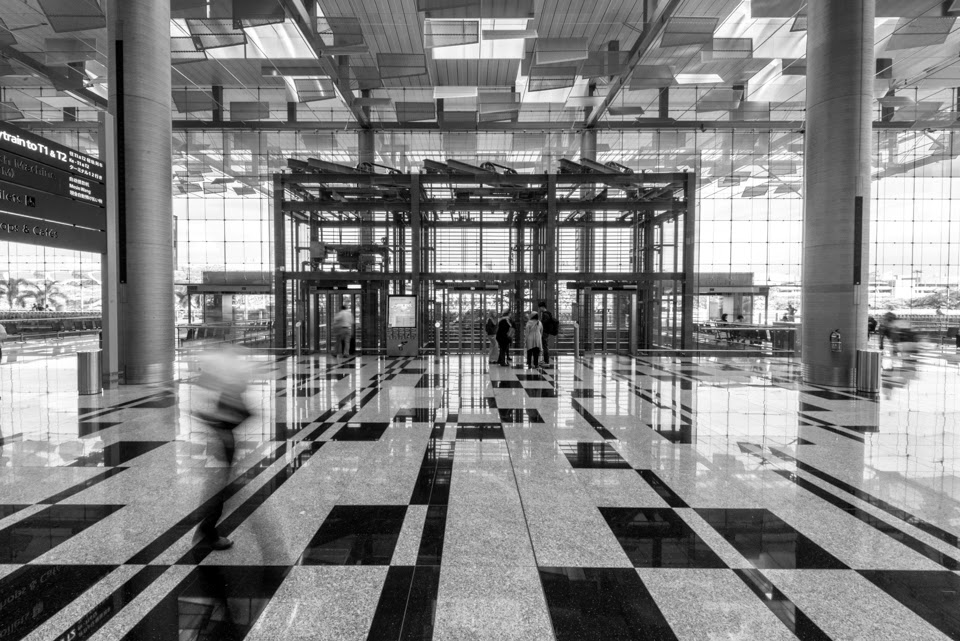
Due to the nature of the lens (wide angle), you will see that the picture is "bent". But Lightroom has now evolved so that it auto-corrects the distortion. One click later and you get
Pretty neat huh! All the bent lines (and pillars) all straighten out.
Next, I strip out the colors, cause it adds nothing to it. I just love black and whites.
Now, the problem is, because the window scene is very bright, the rest of the picture (indoor) is a bit dark. The lift is lost in the business of the picture - so my global (affects the whole picture) adjustments in Lightroom is to lower the highlights, increase the shadows, and boost clarity.
I still didn't think that the lift stood out clearly enough, so I "darkened" the bright window more, darkened the lift, boosted overall exposure to accentuate the dark lift against the white background. I actually spent a bit of time fine-tuning this via the black and white sliders - to give the final image right on top.
The lessons are:
1. Start with an image you are happy with in terms of composition - this takes time and effort to experiment with various settings/filters.
2. Post processing is an important part of getting to how you envisage the final image to be. You will see that the final image is starkly different to the RAW. And whilst I don't really use photoshop, I am a big proponent of Lightroom - it is a important and very powerful tool - that is (almost) as important as the gear you use.
Happy Shooting!
Subscribe to:
Posts (Atom)


